How to Create AI Images Step by Step (Even If You Cannot Draw)
You do not need to draw to make a good AI image — you need to describe, generate, judge and refine. This step-by-step walkthrough uses the toolmakers’ own guidance, from OpenAI, Midjourney and Google DeepMind.
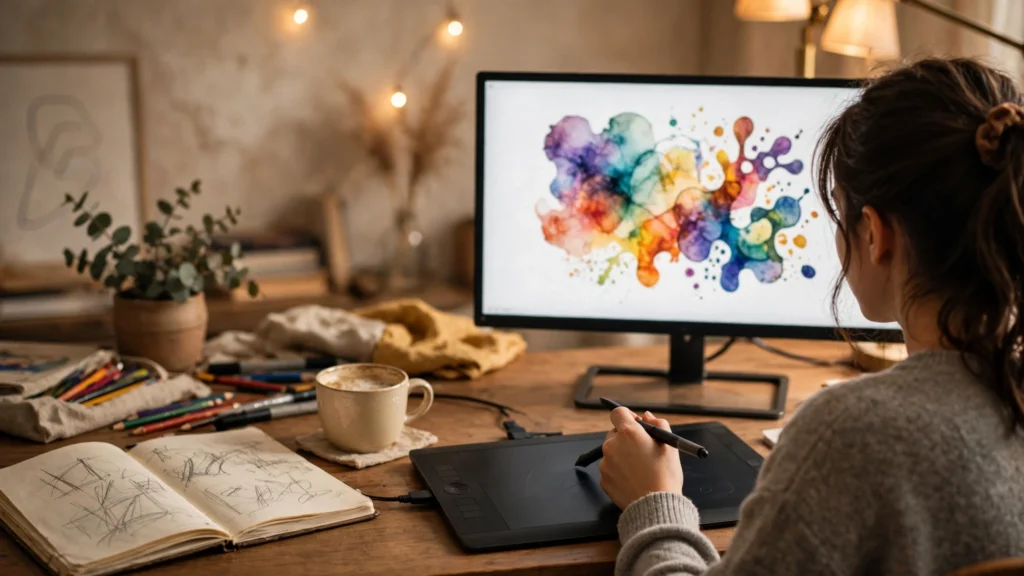
You do not need to draw to make a good picture any more. An AI image generator turns a written description — a prompt — into a finished image, and the skill involved is not drawing skill at all: it is describing clearly what you want to see. This walkthrough takes you from a blank screen to a saved, usable image, step by step, using the way the major tools themselves say they work. It sits inside our wider guide, AI image generators explained, which covers how the technology works underneath; here we stay practical. If your results come out strange on the first try, that is normal too — our companion piece on why AI images look wrong explains the usual causes and fixes.
Highlights
- The core skill is description, not drawing: you write what the image should contain, choose a style, generate, then improve the result by changing the words.
- ChatGPT Images works in plain conversation: OpenAI’s help centre says you describe the image you want, and you can also ask it to edit an existing image, add text, or change the aspect ratio.
- Short, clear prompts are a valid starting point: Midjourney’s own documentation says short and simple prompts typically generate the best images with Midjourney, and that specific word choices matter.
- Iteration is the method, not a failure: professionals generate several versions and change one thing at a time — subject, style, lighting or framing — rather than rewriting everything at once.
- Save and label your work: OpenAI notes images you create in ChatGPT are automatically saved under Images, so you can revisit and reuse them; wherever you work, keep the prompt with the picture.
Step 1: Pick one tool and stay with it for a week
Beginners often open five generators in one afternoon and learn none of them. Pick a single starting point instead. If you already use ChatGPT, its image feature is the lowest-friction start: OpenAI’s help page, “Images in ChatGPT”, explains that you can ask ChatGPT to create an image inside an ordinary conversation, or open the Images section and enter a prompt there. The same page states ChatGPT Images is available on all tiers, on web, iOS and Android. If you prefer a design-focused tool, Microsoft Designer is free to use with a Microsoft account according to Microsoft’s Designer FAQ, and Adobe Firefly suits people who want generation inside a creative workflow. Whichever you choose, the steps below are the same, because every generator follows the same loop: describe, generate, judge, refine. For a fuller comparison of what each free starting point actually allows, read our guide to what free AI image tiers actually let you do before you commit to one.
Step 2: Write your first prompt as a sentence about a picture
A prompt is simply the text you use to tell the tool what kind of image you want. Midjourney’s documentation, “Prompt Basics”, puts it plainly: a prompt can be one word or a complete phrase, short and simple prompts typically work best on that platform, and the words you pick matter — specific synonyms produce different results. Google DeepMind’s prompt guide for its image models gives the same advice in a different shape: think about the subject and the style — who or what is in the image, what they look like, and whether you want a photograph, an illustration or a painting. A reliable first prompt therefore has three parts: a subject (“a red bicycle”), a setting (“leaning against a stone wall in morning light”), and a style (“photograph” or “watercolour illustration”). Write it as an ordinary sentence. You are describing a picture to someone who cannot see your imagination — because that is literally what is happening.
Step 3: Generate, then judge the result like an editor
Press generate and wait. OpenAI notes that image generation in ChatGPT may take a few minutes depending on the complexity of the request, so a short pause is normal, not a hang. When the image appears, do not ask “is it perfect?” Ask three narrower questions instead. First: is the subject right — the thing you asked for, in the right place? Second: is the style right — photo, illustration or painting, as requested? Third: are there visible errors — extra objects, warped details, garbled text? Most first results pass one or two of these and fail the third, and the failure tells you exactly what to change next. This judging step is where your taste does the work your drawing hand used to do. If an image fails in ways you cannot explain, the patterns in our guide to common AI image problems — hands, text, counting and physics — will usually name what went wrong.
Step 4: Refine by changing one thing at a time
Refining is where good images are actually made. Change a single element per generation: swap “morning light” for “golden evening light”, or “watercolour” for “flat vector illustration”, and keep everything else identical, so you can see what that one change did. In ChatGPT you can also refine conversationally — OpenAI’s help page says you can ask ChatGPT to edit an existing image, and that the current image feature does a better job of keeping details consistent from one edit to the next, as well as following instructions to add text or make a background transparent. You can also pick a different shape for the picture: the same help page notes you can generate images in any aspect ratio, using the ratio picker or by naming the ratio in your prompt — useful when the image is destined for a phone wallpaper, a square social post or a wide banner. Keep a small notebook of prompts that worked. Within a few sessions you will have your own reliable recipes, and our prompt-writing checklist can turn those recipes into a repeatable system.
Step 5: Save, credit and use the image responsibly
When a result passes your three questions, save it properly: download the file, rename it for what it shows, and store the prompt alongside it so you can recreate or adjust it later. In ChatGPT, OpenAI says all images you create are automatically saved under Images, so you can browse, revisit and reuse them — but a local copy with a clear filename is still the safer habit for work you care about. Then think about use. Different tools attach different rights and limits to free output: Microsoft states Designer is licensed for personal, non-commercial use with a Microsoft account, while Adobe states Firefly output from its commercially released version can be used commercially because its models are trained on licensed and public-domain content. Those two sentences are not interchangeable, which is why the tier guide linked earlier matters before you put an image on anything public or paid. Finally, be honest about what the image is: if you publish it, labelling AI-generated work as AI-generated is the norm readers increasingly expect, and some platforms require it.
What this means
The real shift in this walkthrough is where the skill now sits. A generation ago, making a picture required years of hand training before the first usable result; the tools above compress that to an afternoon of learning how to describe, judge and refine. That does not make visual skill worthless — it relocates it. The people who get consistently good results from these generators are not the ones with secret prompts; they are the ones with clear visual judgement: they know what morning light does to a scene, what a watercolour looks like versus a photograph, and when an image is wrong even if they cannot say why in technical terms. In other words, the generator removed the hand skill barrier, not the eye skill barrier. For a beginner, that is genuinely good news, because taste can be trained quickly and cheaply: generate fifty images this week, judge each one against the three questions in Step 3, and your fiftieth prompt will be unrecognisably better than your first. It also means the honest limit should be stated plainly: the tool will happily produce a mediocre image from a vague idea, instantly and at scale. The bottleneck has moved from production to discernment — and discernment is the part only you can supply.
Bottom line
The skill in AI images is describing, judging and refining — not drawing. Learn to say exactly what you want to see, and to reject what misses it, and an afternoon is enough to start producing pictures worth using.
Read Next
- AI Image Generators Explained: How They Work and How to Choose One
- How to Write AI Image Prompts That Actually Work: A Checklist
Sources
- OpenAI Help Center, “Images in ChatGPT” — help.openai.com (accessed 6 Nov 2026)
- Midjourney Docs, “Prompt Basics” — docs.midjourney.com (accessed 6 Nov 2026)
- Google DeepMind, “How to create effective image prompts with Gemini Image” — deepmind.google (accessed 6 Nov 2026)
- Microsoft Support, “Frequently asked questions about Microsoft Designer” — support.microsoft.com (accessed 6 Nov 2026)